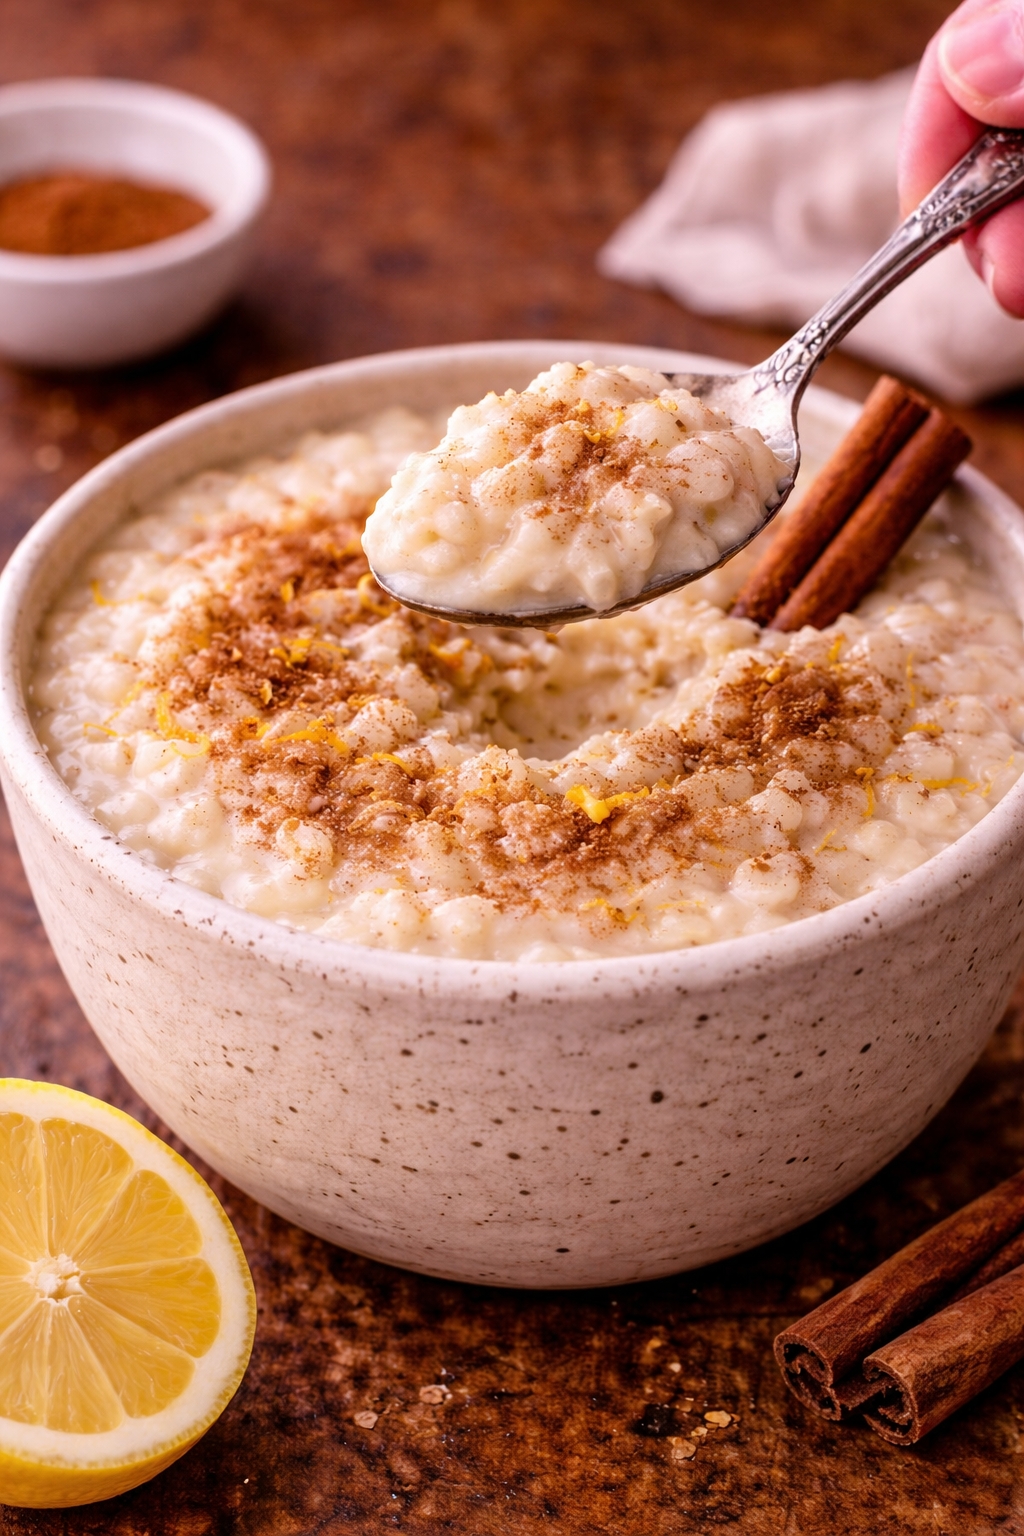
Stove Top Rice Pudding - This stove top rice pudding turns simple pantry staples into a creamy, velvety bowl with tender grains and a soft, spoonable body. The texture lands between silky custard and comforting porridge, with warm cinnamon and vanilla rounding out the gentle sweetness. A tiny pinch of salt keeps the flavor balanced so it never tastes flat or overly sugary. It comes together in one pot with steady stirring, making it an easy, cozy dessert that feels special without complicated steps.
Stove Top Rice Pudding - This recipe works because the rice is simmered slowly in milk so the starches hydrate and thicken the base naturally, while a final enrichment with egg yolks creates a custard-like set without turning it into scrambled eggs. After testing different approaches, I found the best texture comes from cooking the rice until it is fully tender first, then switching to a gentler simmer and stirring more frequently as the pot thickens—this prevents scorching and keeps the pudding creamy instead of gluey. Tempering the yolks with a ladle of hot pudding is the straightforward move that delivers professional results, because it emulsifies the eggs into the dairy and makes the mixture glossy rather than grainy. This shows how basic ingredients create something special: rice, milk, sugar, and spice become restaurant-style comfort when you respect heat and timing. It aligns with my focus on technique over complexity, where understanding how starch thickens and how gentle heat protects dairy makes the result reliable every single time.
Dietary Notes
- ✓ One-Pot Comfort Dessert
- ✓ Creamy Custard Finish
- ✓ Pantry Staples
- ✓ Make-Ahead Friendly
♥
Why You'll Love This
- Silky, Cozy Texture: Slow simmering builds a velvety pudding with tender rice and a glossy finish.
- Reliable Stovetop Method: Gentle heat and steady stirring make certain the milk stays creamy and never curdles.
- Balanced Warm Spice: Cinnamon and vanilla develop flavor without overpowering the dairy richness.
- Flexible Sweetness: Adjust sugar at the end so it fits your toppings, from fruit to toasted nuts.
Stove Top Rice Pudding
👩🍳 Author: Abderrahmane
⏰ Prep Time: 12min
❄️ Cool Time: 10
🔥 Cook Time: 35min
🥨 Yield: 6
🍞 Method: Simmering
🌾 Diet: Vegetarian
★
★
★
★
★
Leave a review
1x
2x
3x
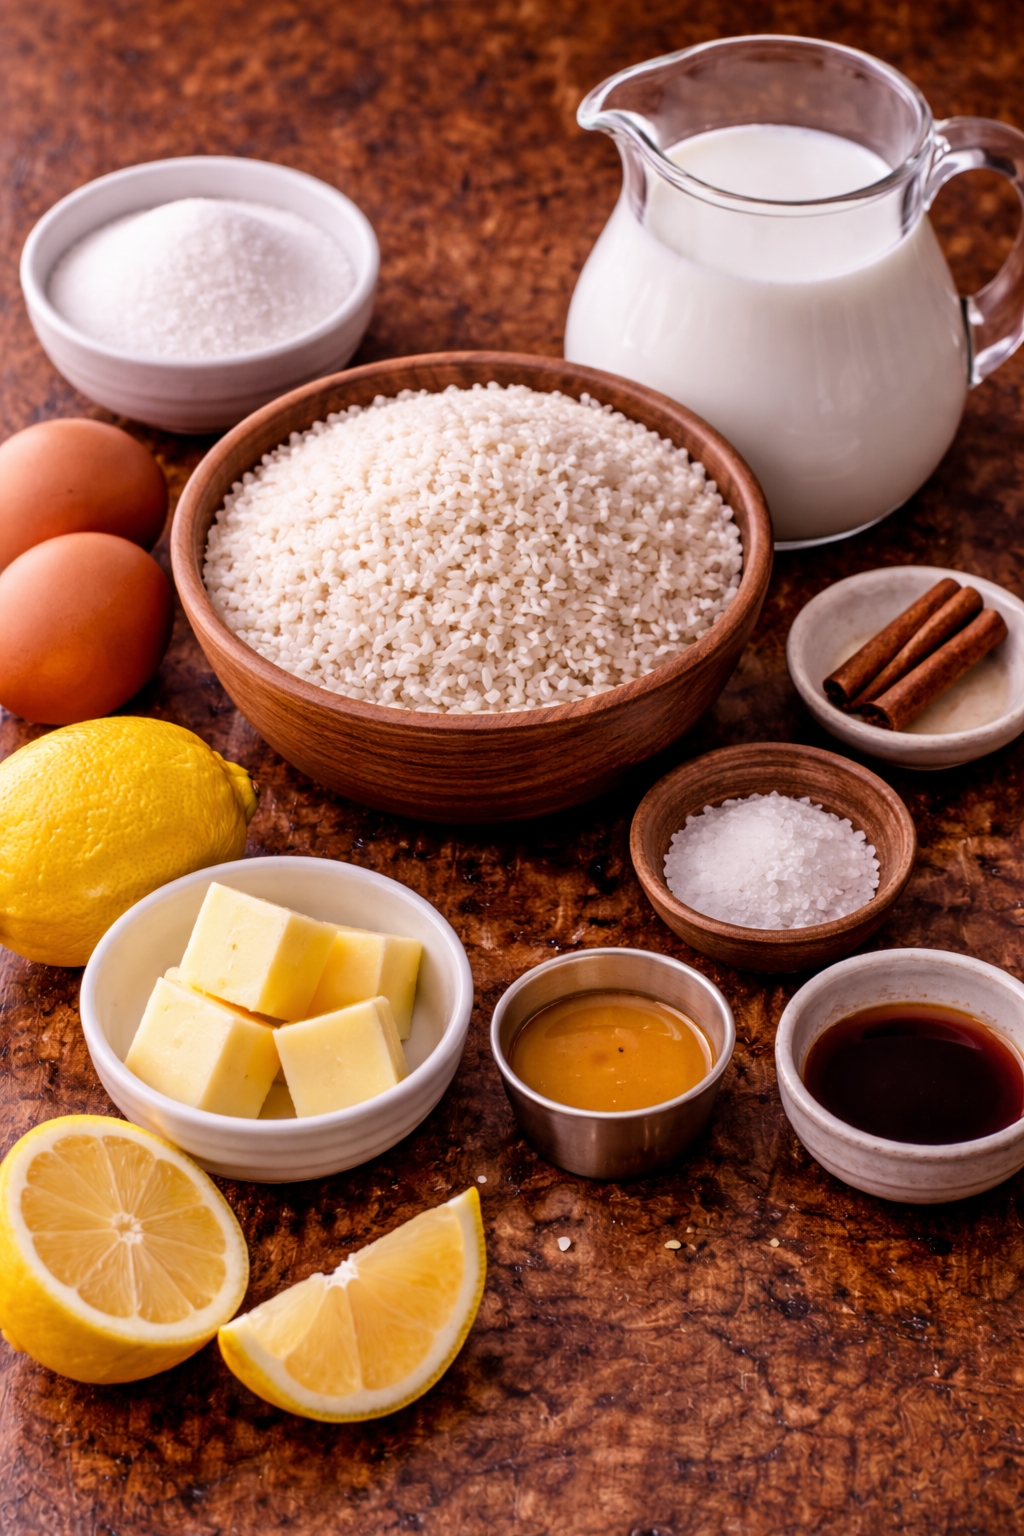
Ingredients
- 3/4 cup short-grain white rice, rinsed
- 4 cups whole milk
- 1/3 cup granulated sugar
- 1/4 tsp fine sea salt
- 1 cinnamon stick
- 2 tsp vanilla extract
- 2 large egg yolks
- 1 tbsp unsalted butter
- 1/2 tsp ground cinnamon
- 1 tsp lemon zest (optional)
Ingredient Notes:
- short-grain white rice, rinsed Choose short-grain rice for extra starch, which thickens into a creamy, velvety pudding as it simmers. Rinse briefly to avoid a gluey texture, then cook low and slow so the grains turn tender and never split.
- whole milk Use full-fat milk for a richer mouthfeel and a more stable simmer; it resists curdling and stays glossy. Keep the pot at a gentle simmer and stir often so the dairy does not scorch, which can add bitter notes.
- granulated sugar Sugar dissolves best early, but adjust at the end once the pudding thickens because sweetness concentrates as it reduces. If the pudding tastes heavy, pair sugar with a pinch of salt to balance the rich, creamy base.
- fine sea salt A small pinch is key for building flavor in sweet desserts; it sharpens vanilla and cinnamon without tasting salty. Add it up front so it disperses evenly and prevents a flat, one-note sweetness.
- cinnamon stick A cinnamon stick infuses warm spice without gritty particles, keeping the pudding silky. Simmer gently so the spice develops flavor gradually, then remove the stick before tempering to keep the texture smooth.
- vanilla extract Stir vanilla in off heat so the aroma stays clean and dessert-like rather than cooked out. This simple step makes the pudding taste more restaurant-style while keeping the finish soft and creamy.
- egg yolks Yolks emulsify into the hot pudding to create a custard sheen and a tender, spoonable set. Temper slowly to avoid curdling; if the pot is too hot, lower the heat and whisk until glossy and smooth.
- unsalted butter Butter melts into the warm pudding to add shine and a more luxurious, velvety mouthfeel. Stir until fully emulsified so you do not get oily streaks, especially if the pudding is very hot.
- ground cinnamon Use ground cinnamon at the end for aroma and a cozy finish without over-spicing the pot. A light dusting adds warmth while keeping the pudding creamy instead of muddy or bitter.
- lemon zest (optional) A little zest adds a bright lift that balances the rich dairy and makes the sweetness feel lighter. Fold it in gently off heat so the oils stay fragrant and the texture remains silky and tender.
Instructions
-
1Step 1: Rinse the rice in cool water and drain well until the water runs mostly clear - this removes surface starch so the pudding thickens smoothly instead of turning pasty.
-
2Step 2: Combine rice, milk, sugar, salt, and the cinnamon stick in a heavy-bottom pot and stir to dissolve - starting cold helps the rice hydrate evenly for a tender, creamy bite.
-
3Step 3: Bring the mixture to a gentle simmer over medium heat, stirring often until you see small bubbles around the edges - controlled heat prevents milk from boiling over and scorching.
-
4Step 4: Reduce to low and simmer 25–30 minutes, stirring every 2–3 minutes, until the rice is tender and the pudding coats a spoon - steady stirring keeps the bottom from caramelizing too dark.
-
5Step 5: Remove the cinnamon stick and keep the pot on very low heat while you whisk the yolks in a bowl - separating this step avoids overheating the eggs and causing curdling.
-
6Step 6: Temper the yolks by whisking in one ladle of hot pudding until smooth and warm to the touch - this gently raises the temperature so the eggs emulsify instead of scrambling.
-
7Step 7: Pour the tempered yolk mixture back into the pot in a thin stream while stirring constantly until the pudding looks glossier - continuous stirring builds a creamy, custard-like texture.
-
8Step 8: Cook 2–3 minutes on low, stirring, until the pudding thickens slightly and reaches a soft, velvety consistency - brief heat sets the yolks for stability without boiling the dairy.
-
9Step 9: Turn off the heat and stir in vanilla, butter, and optional lemon zest until fully melted and fragrant - adding these off heat preserves aroma and keeps the texture silky.
-
10Step 10: Rest 10 minutes, then portion warm or chill covered until thick and creamy - resting lets starches settle so the pudding turns spoonable and consistent from top to bottom.
Nutrition Facts
Calories 320
Protein 9g
Carbs 52g
Fiber 1g
Sugar 22g
Fat 10g
Sodium 190mg
Potassium N/A
Serving Suggestions
Serve the rice pudding warm for the softest, creamiest texture, or chill it for a thicker, spoon-standing bowl that feels like a simple custard. For a clean presentation, ladle it into shallow cups and smooth the top with the back of a spoon, then dust lightly with cinnamon and add a small swirl of whipped cream or yogurt. Pair it with fresh berries for bright contrast, or drizzle a little honey for a rounder sweetness. If serving later, let it rest 10 minutes off the heat so the starch settles and the pudding turns glossy before you portion it.
How to Store?
Cool the pudding to room temperature, then refrigerate in an airtight container for up to 4 days; press a piece of parchment directly on the surface to prevent a skin. Reheat gently on the stove or in the microwave with a splash of milk, stirring every 30 seconds, until creamy and steaming but not boiling. Rice pudding freezes best in small portions for up to 2 months; thaw overnight in the fridge and whisk in milk to restore a velvety texture. For make-ahead ease, cook it fully, chill, and rewarm slowly so it stays tender and never turns dry or stiff.
If you enjoyed this Stove Top Rice Pudding or any other recipe on my blog,
please leave a ⭐ star rating and let me know how it went
in the comments below. I appreciate you taking time to read about this recipe, thank you!


Leave a Comment