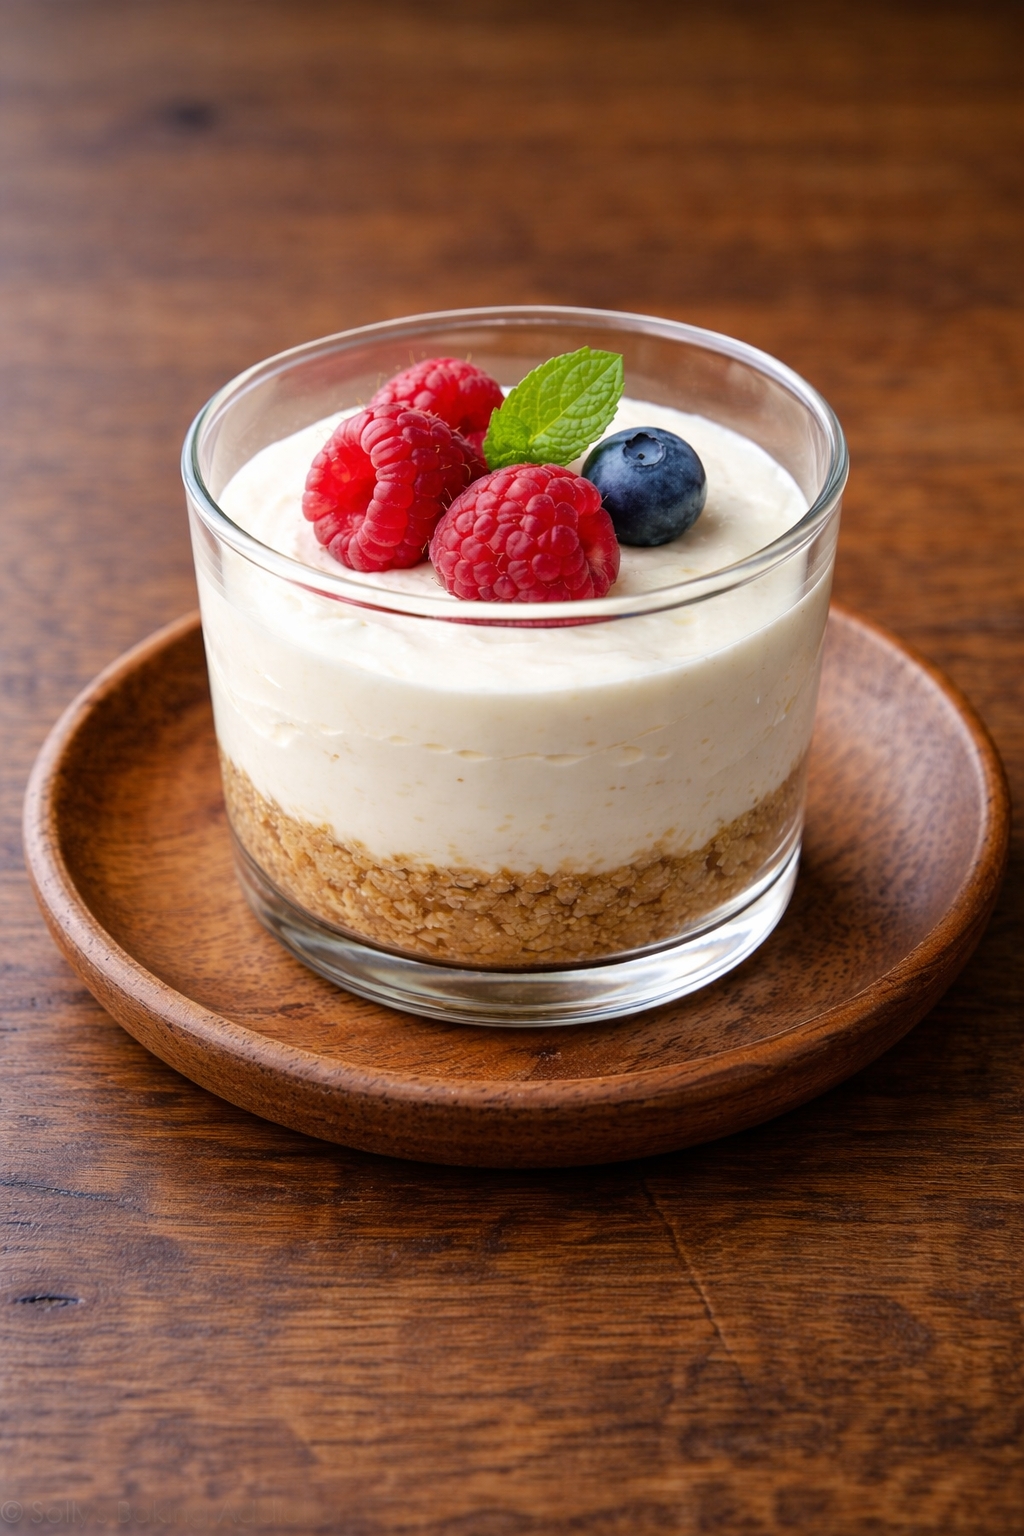
No-Bake Cheesecake Cups - These individual cheesecakes feature a graham cracker crust topped with a luxuriously smooth and tangy cream cheese filling, all without turning on the oven. Setting in the refrigerator gives them a perfect, sliceable texture. They are ideal for portion control and easy serving at parties.
No-Bake Cheesecake Cups - I used to think no-bake desserts were just for hot summers, until I brought these to a potluck in December. Everyone raved about the creamy texture—no one missed the oven! The 4-hour chill time is the real secret; it lets the flavors meld perfectly. Now I keep a batch in my fridge for unexpected guests or sudden cravings. It's the dessert that taught me patience pays off in texture.
Dietary Notes
- ✓ No Oven Needed
- ✓ Make-Ahead Dessert
- ✓ Individual Portions
- ✓ Crowd-Pleasing
♥
Why You'll Love This
- No Heat Required: Perfect for summer or hot kitchens.
- Creamy Texture: Gelatin sets the filling perfectly.
- Portion Control: Individual servings simplify serving.
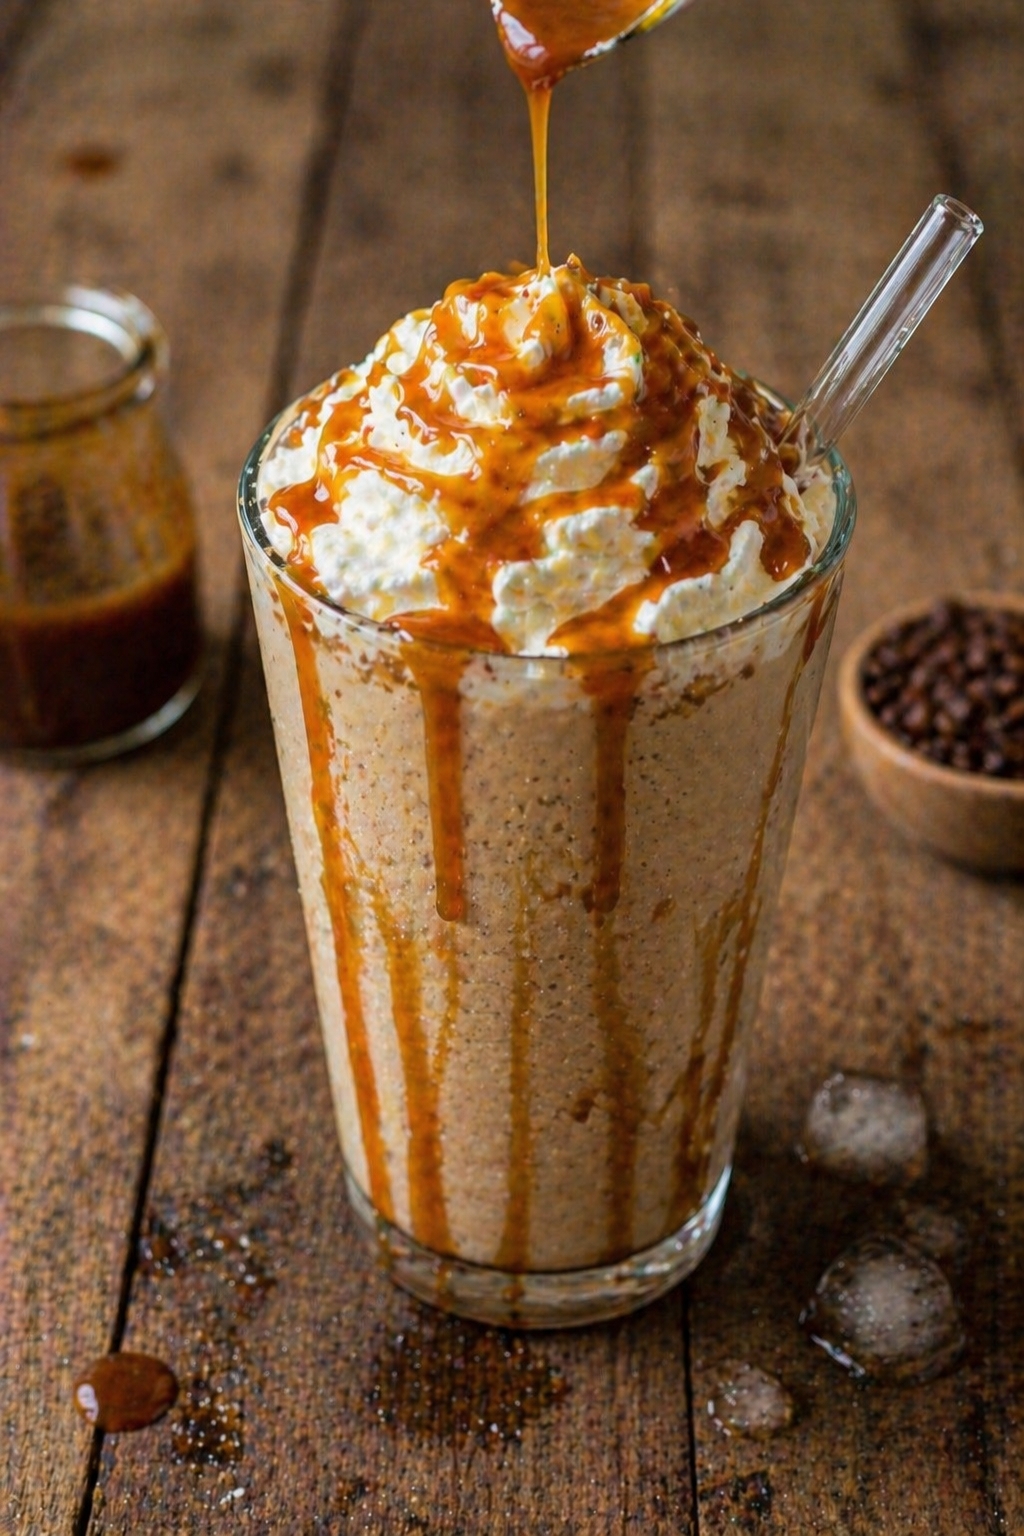
- Endless Toppings: Customize with fruit, caramel, or chocolate.
No-Bake Cheesecake Cups
👩🍳 Author: Abderrahmane
⏰ Prep Time: 20min
❄️ Cool Time: 240
🔥 Cook Time: 0min
🥨 Yield: 6
🍞 Method: No-Bake
🌾 Diet: Vegetarian
★
★
★
★
★
Leave a review
1x
2x
3x
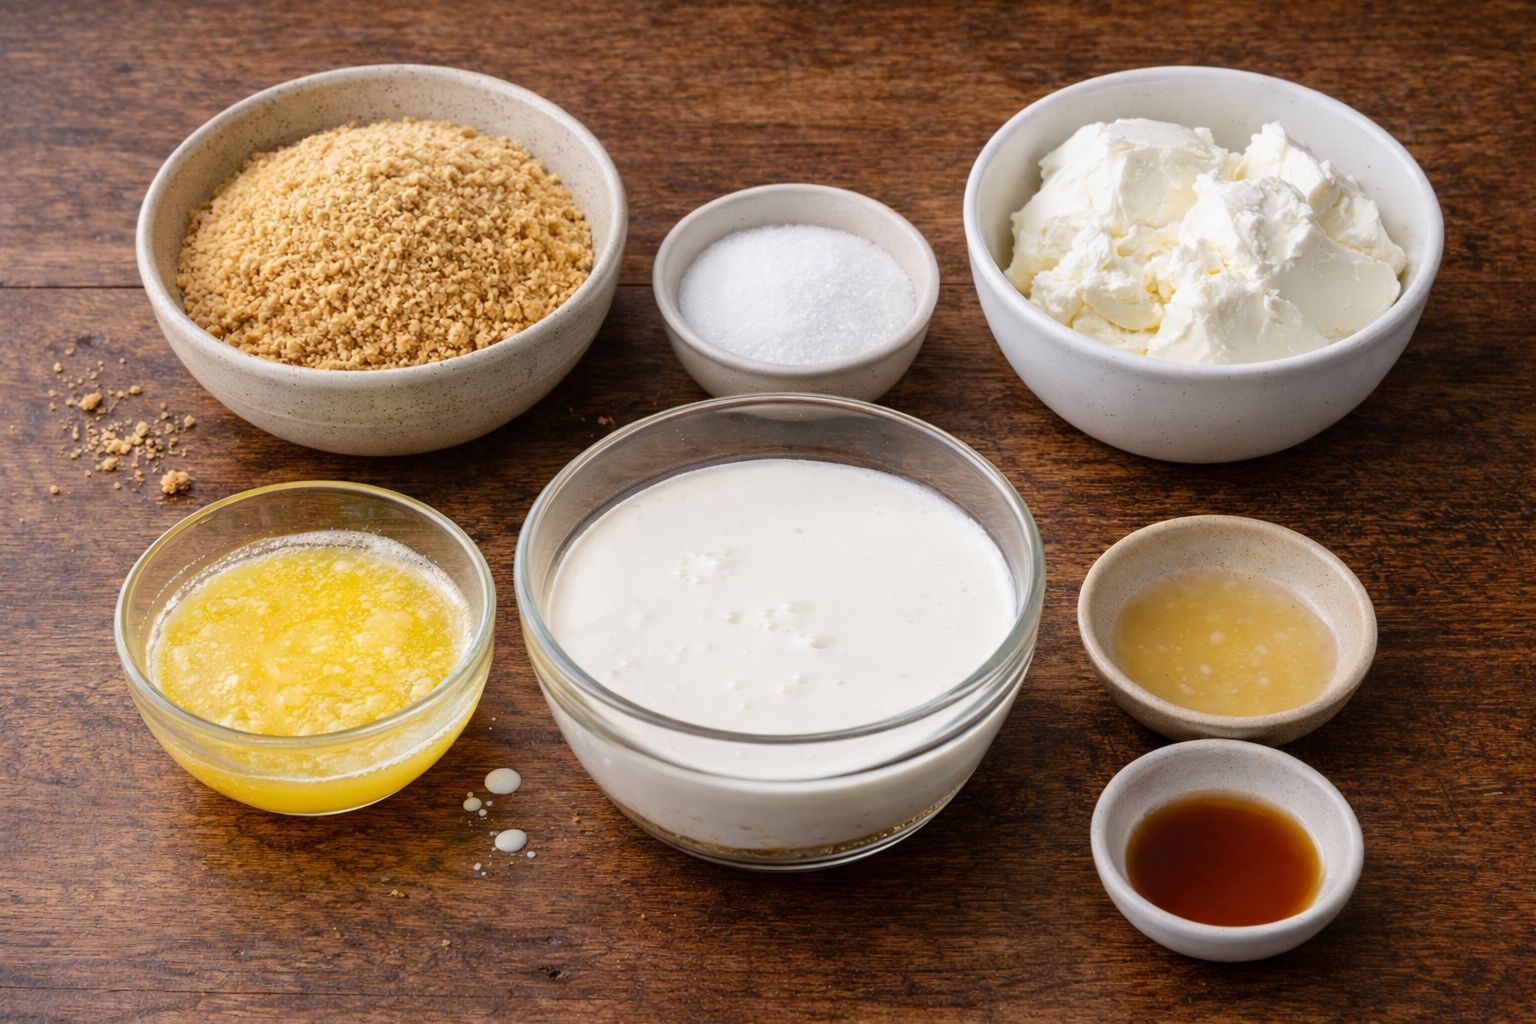
Ingredients
- 1 ½ cups graham cracker crumbs
- 6 tbsp unsalted butter, melted
- ⅓ cup granulated sugar
- 16 oz cream cheese, softened
- 1 cup heavy cream
- 1 tsp pure vanilla extract
- 1 tbsp lemon juice
Ingredient Notes:
- Graham cracker crumbs Fine crumbs pack into a firm crust. If crumbs are coarse, pulse briefly so the base holds clean spoonfuls and slices.
- Unsalted butter, melted Butter binds the crust for a sturdy cheesecake cup. If the crust feels dry, add 1-2 tbsp more until it presses firmly.
- Granulated sugar Sugar sweetens both crust and filling. Taste before chilling because cold cheesecake tastes slightly less sweet.
- Cream cheese, softened Full-fat cream cheese gives thick, smooth, creamy texture. Softened cream cheese prevents lumps and makes a velvety no-bake filling.
- Heavy cream Whipped cream adds airy, mousse-like structure. Use cold cream and fold gently to keep volume for stable cheesecake cups.
- Pure vanilla extract Vanilla adds bakery aroma and rounds out tangy cream cheese flavor. Use pure vanilla for the cleanest taste.
- Lemon juice A little lemon brightens flavor and balances sweetness. It also helps the cheesecake taste fresh instead of heavy.
Instructions
-
1Mix graham cracker crumbs, melted butter, and 3 tablespoons of sugar in a bowl until combined. Press ¼ cup of mixture firmly into the bottom of each serving cup or jar.
-
2Using an electric mixer, beat the softened cream cheese and remaining sugar on medium speed until completely smooth, about 2 minutes - no lumps.
-
3Add vanilla extract and lemon juice to the cream cheese mixture. Beat until combined.
-
4In a separate chilled bowl, whip the cold heavy cream on high speed until stiff peaks form.
-
5Gently fold the whipped cream into the cream cheese mixture in three additions - this keeps the filling light and airy.
-
6Divide the filling evenly among the prepared cups, smoothing the tops. Cover and refrigerate for at least 4 hours, or overnight, until completely set.
-
7Add desired toppings just before serving.
Nutrition Facts
Calories 420
Protein 5g
Carbs 30g
Fiber 1g
Sugar 22g
Fat 32g
Sodium 280mg
Potassium N/A
Serving Suggestions
Serve chilled directly in the cups or jars. Top with fresh berries, a dollop of whipped cream, chocolate shavings, or a fruit compote just before serving. For a professional touch, pipe the whipped cream using a star tip and garnish with a mint leaf.
How to Store?
Store covered in the refrigerator for up to 5 days. If topping with fresh fruit, add it just before serving to prevent sogginess. These cups can be frozen for up to 1 month; thaw overnight in the refrigerator before serving. The texture may be slightly denser after freezing.
Other Recipes You'll L❤️ve
If you enjoyed this No-Bake Cheesecake Cups or any other recipe on my blog,
please leave a ⭐ star rating and let me know how it went
in the comments below. I appreciate you taking time to read about this recipe, thank you!
Leave a Comment